 After having amazing Soda Bread on our vacation, thought I’d look into it a bit more. The most essential quality of good Soda Bread is its lightness. All the soda bread I’ve had in the past has been like a huge drop biscuit, and somewhat coarse.
Here’s my thought, just because something is from yesteryear, a farmhouse, or labeled rustic doesn’t automatically mean it should be something you’re not proud of! The soda bread we had was so good, that it was used in the bread pudding as well. I’ve read all my head will hold about alkaline and acids, and am figuring out a recipe that if it works, will be posted here within the next few days. From an early age I remember being told to use a teaspoon or two of lemon juice in a cup of milk to get a better result in cooking than if you were to use store bought buttermilk. I always use this soured milk because I’ll never get through a litre of buttermilk! Apparently buttermilk’s not as acid as sour milk.
Also, thinking about biscuits and that they are never at their best the next day, I looked into storage. I’m guessing that most folks don’t have an abundance of oiled baking paper on hand (this was what used in the 1800’s), but we do have tin foil. When the loaves are closely wrapped with an impervious covering, you’ll get an extra couple of days of goodness.
So after some tweaking and thinking and reviewing what I already know about baking soda and powder, here is what I’ve come up with.
Makes 3 – 5 ¾“ x 3” loaves – enough for 12 servings
Click here for printable version
Ingredients
3 c flour
1/3 c sugar
¾ t salt
1 T baking powder
1 t baking soda
1 egg
2 c milk with 4 t lemon juice added
¼ c butter, melted or canola oil
1 T melted butter for brushing tops
Directions
Preheat oven to 325° – rack in the center of the oven
Lightly spray the loaf pans with cooking spray
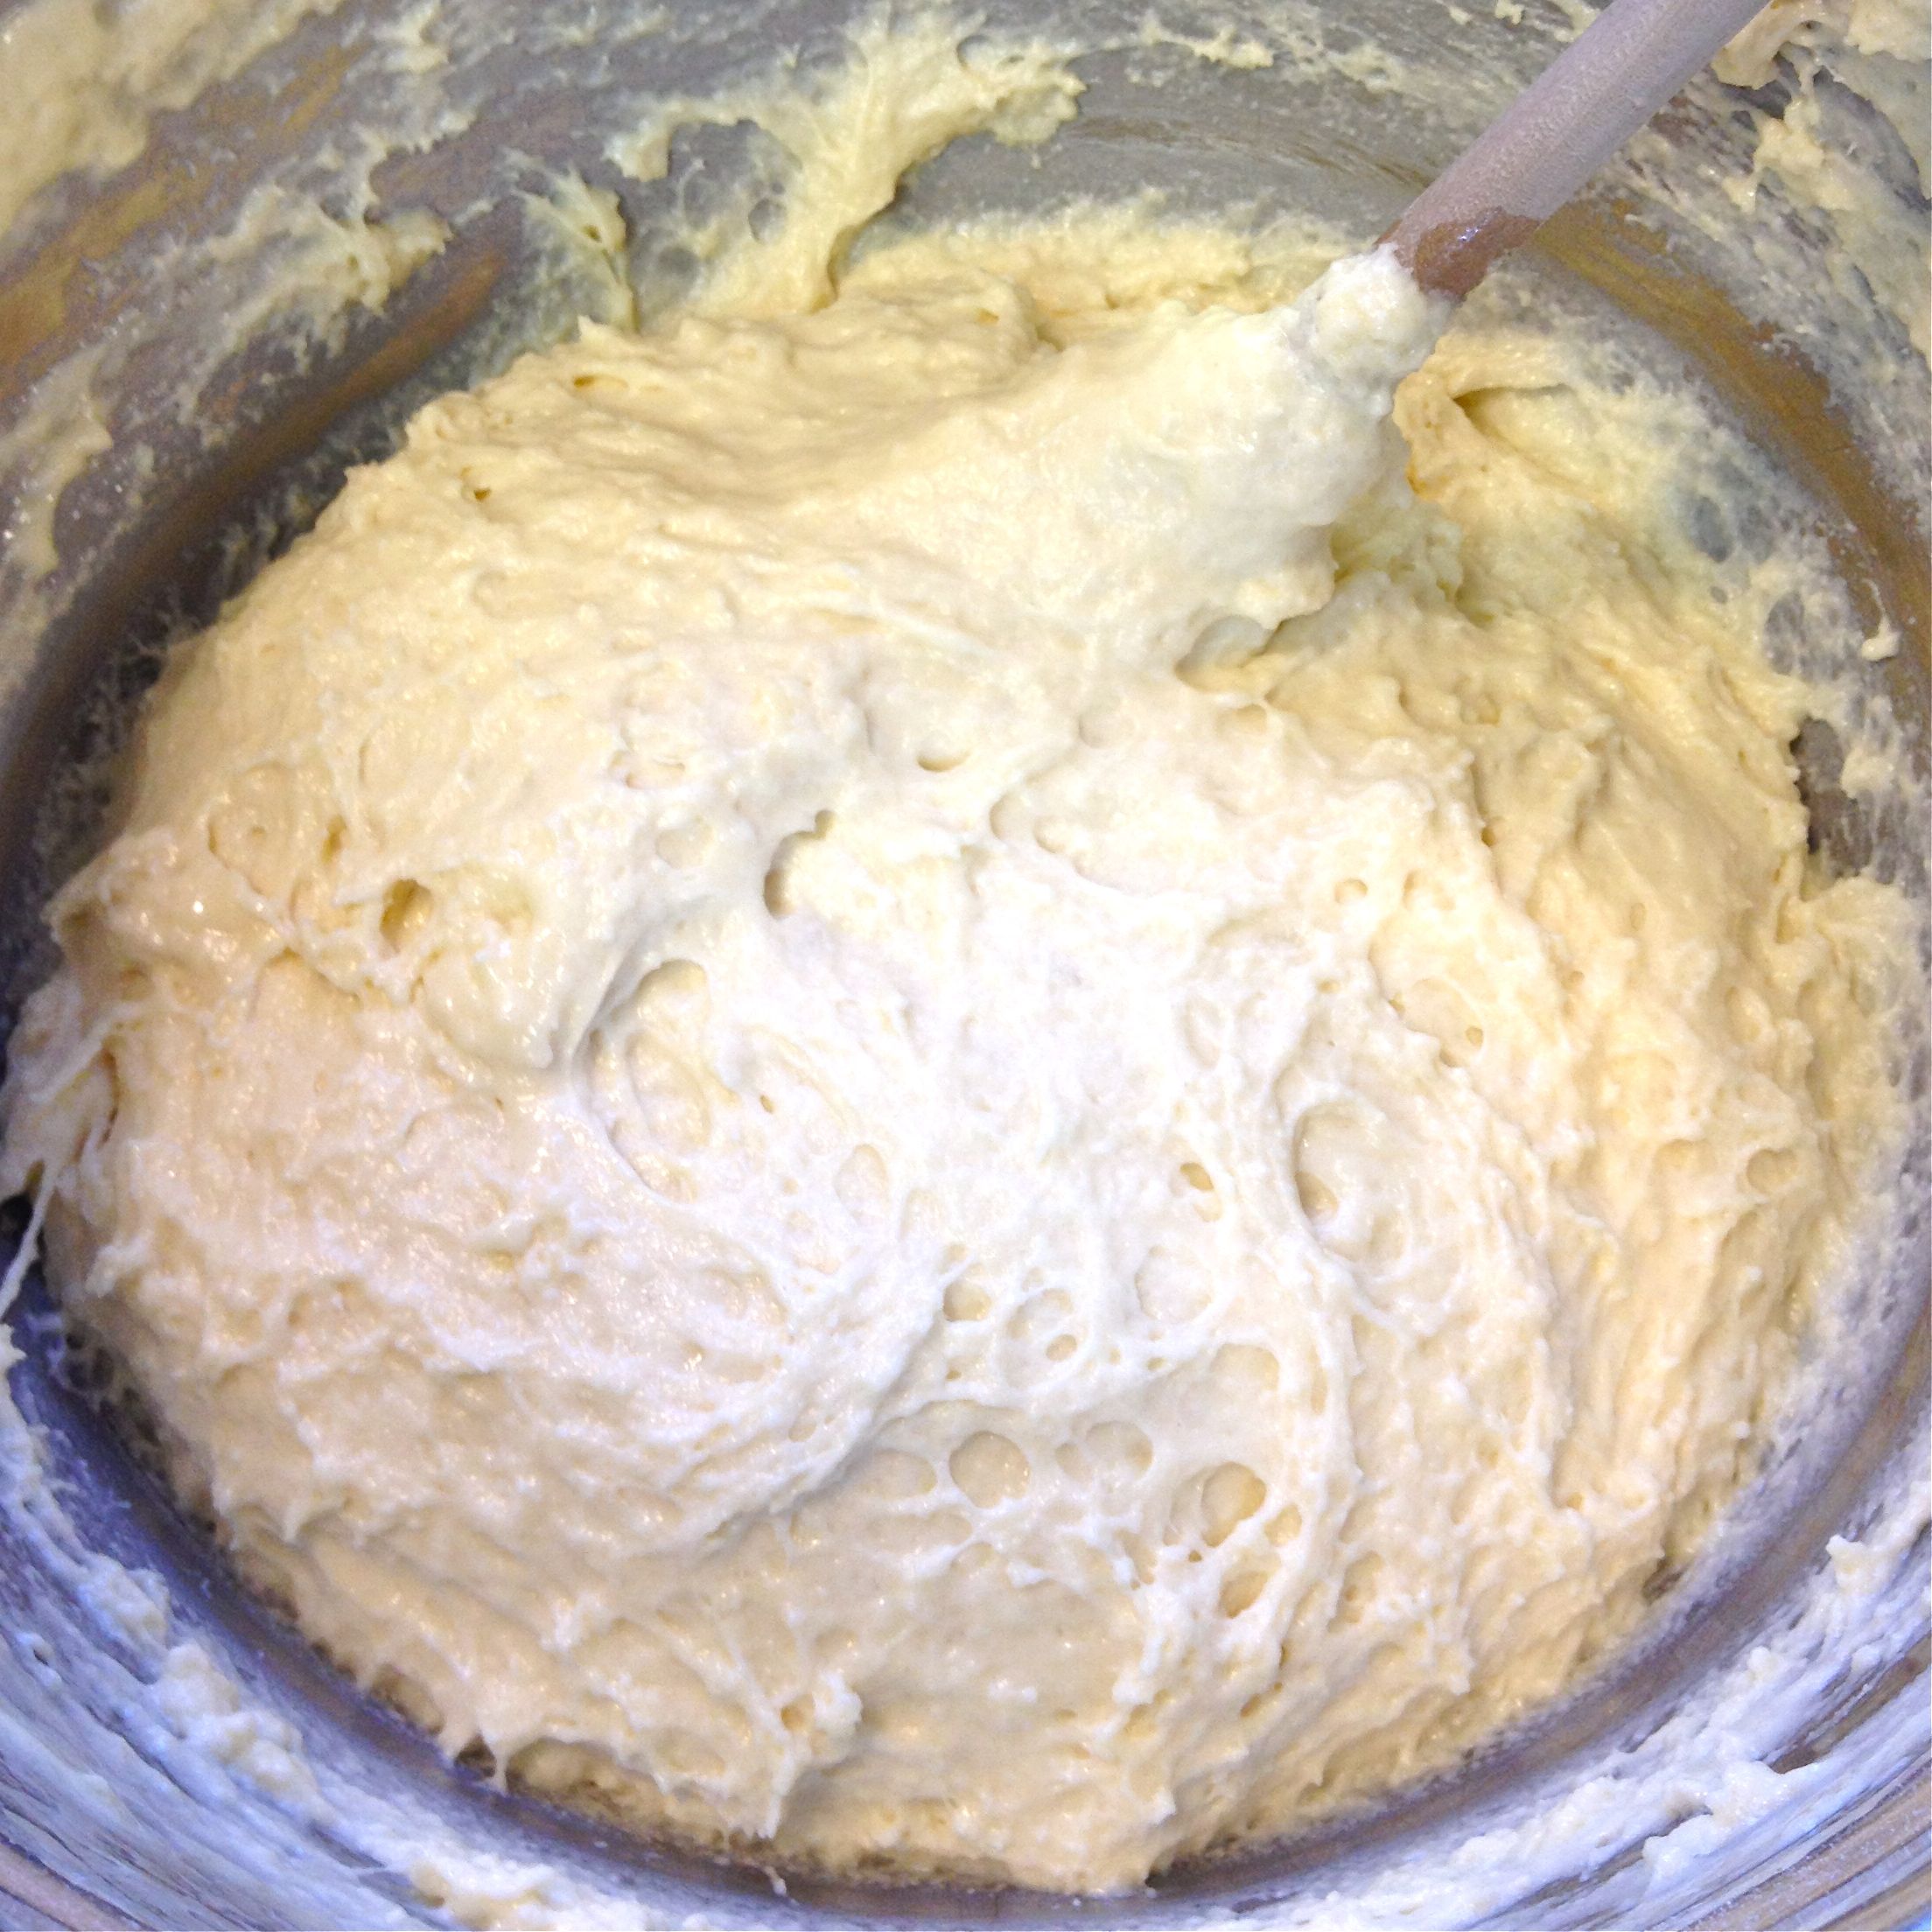
In a large mixing bowl, whisk together all dry ingredients.
In a smaller bowl, whisk the egg, and add in the soured milk. Whisk to combine.
Add the egg & milk to the dry ingredients all at once. Stir until just combined. Don’t over mix.

Add in the butter or oil. Stir until incorporated.
Divide equally between the three pans.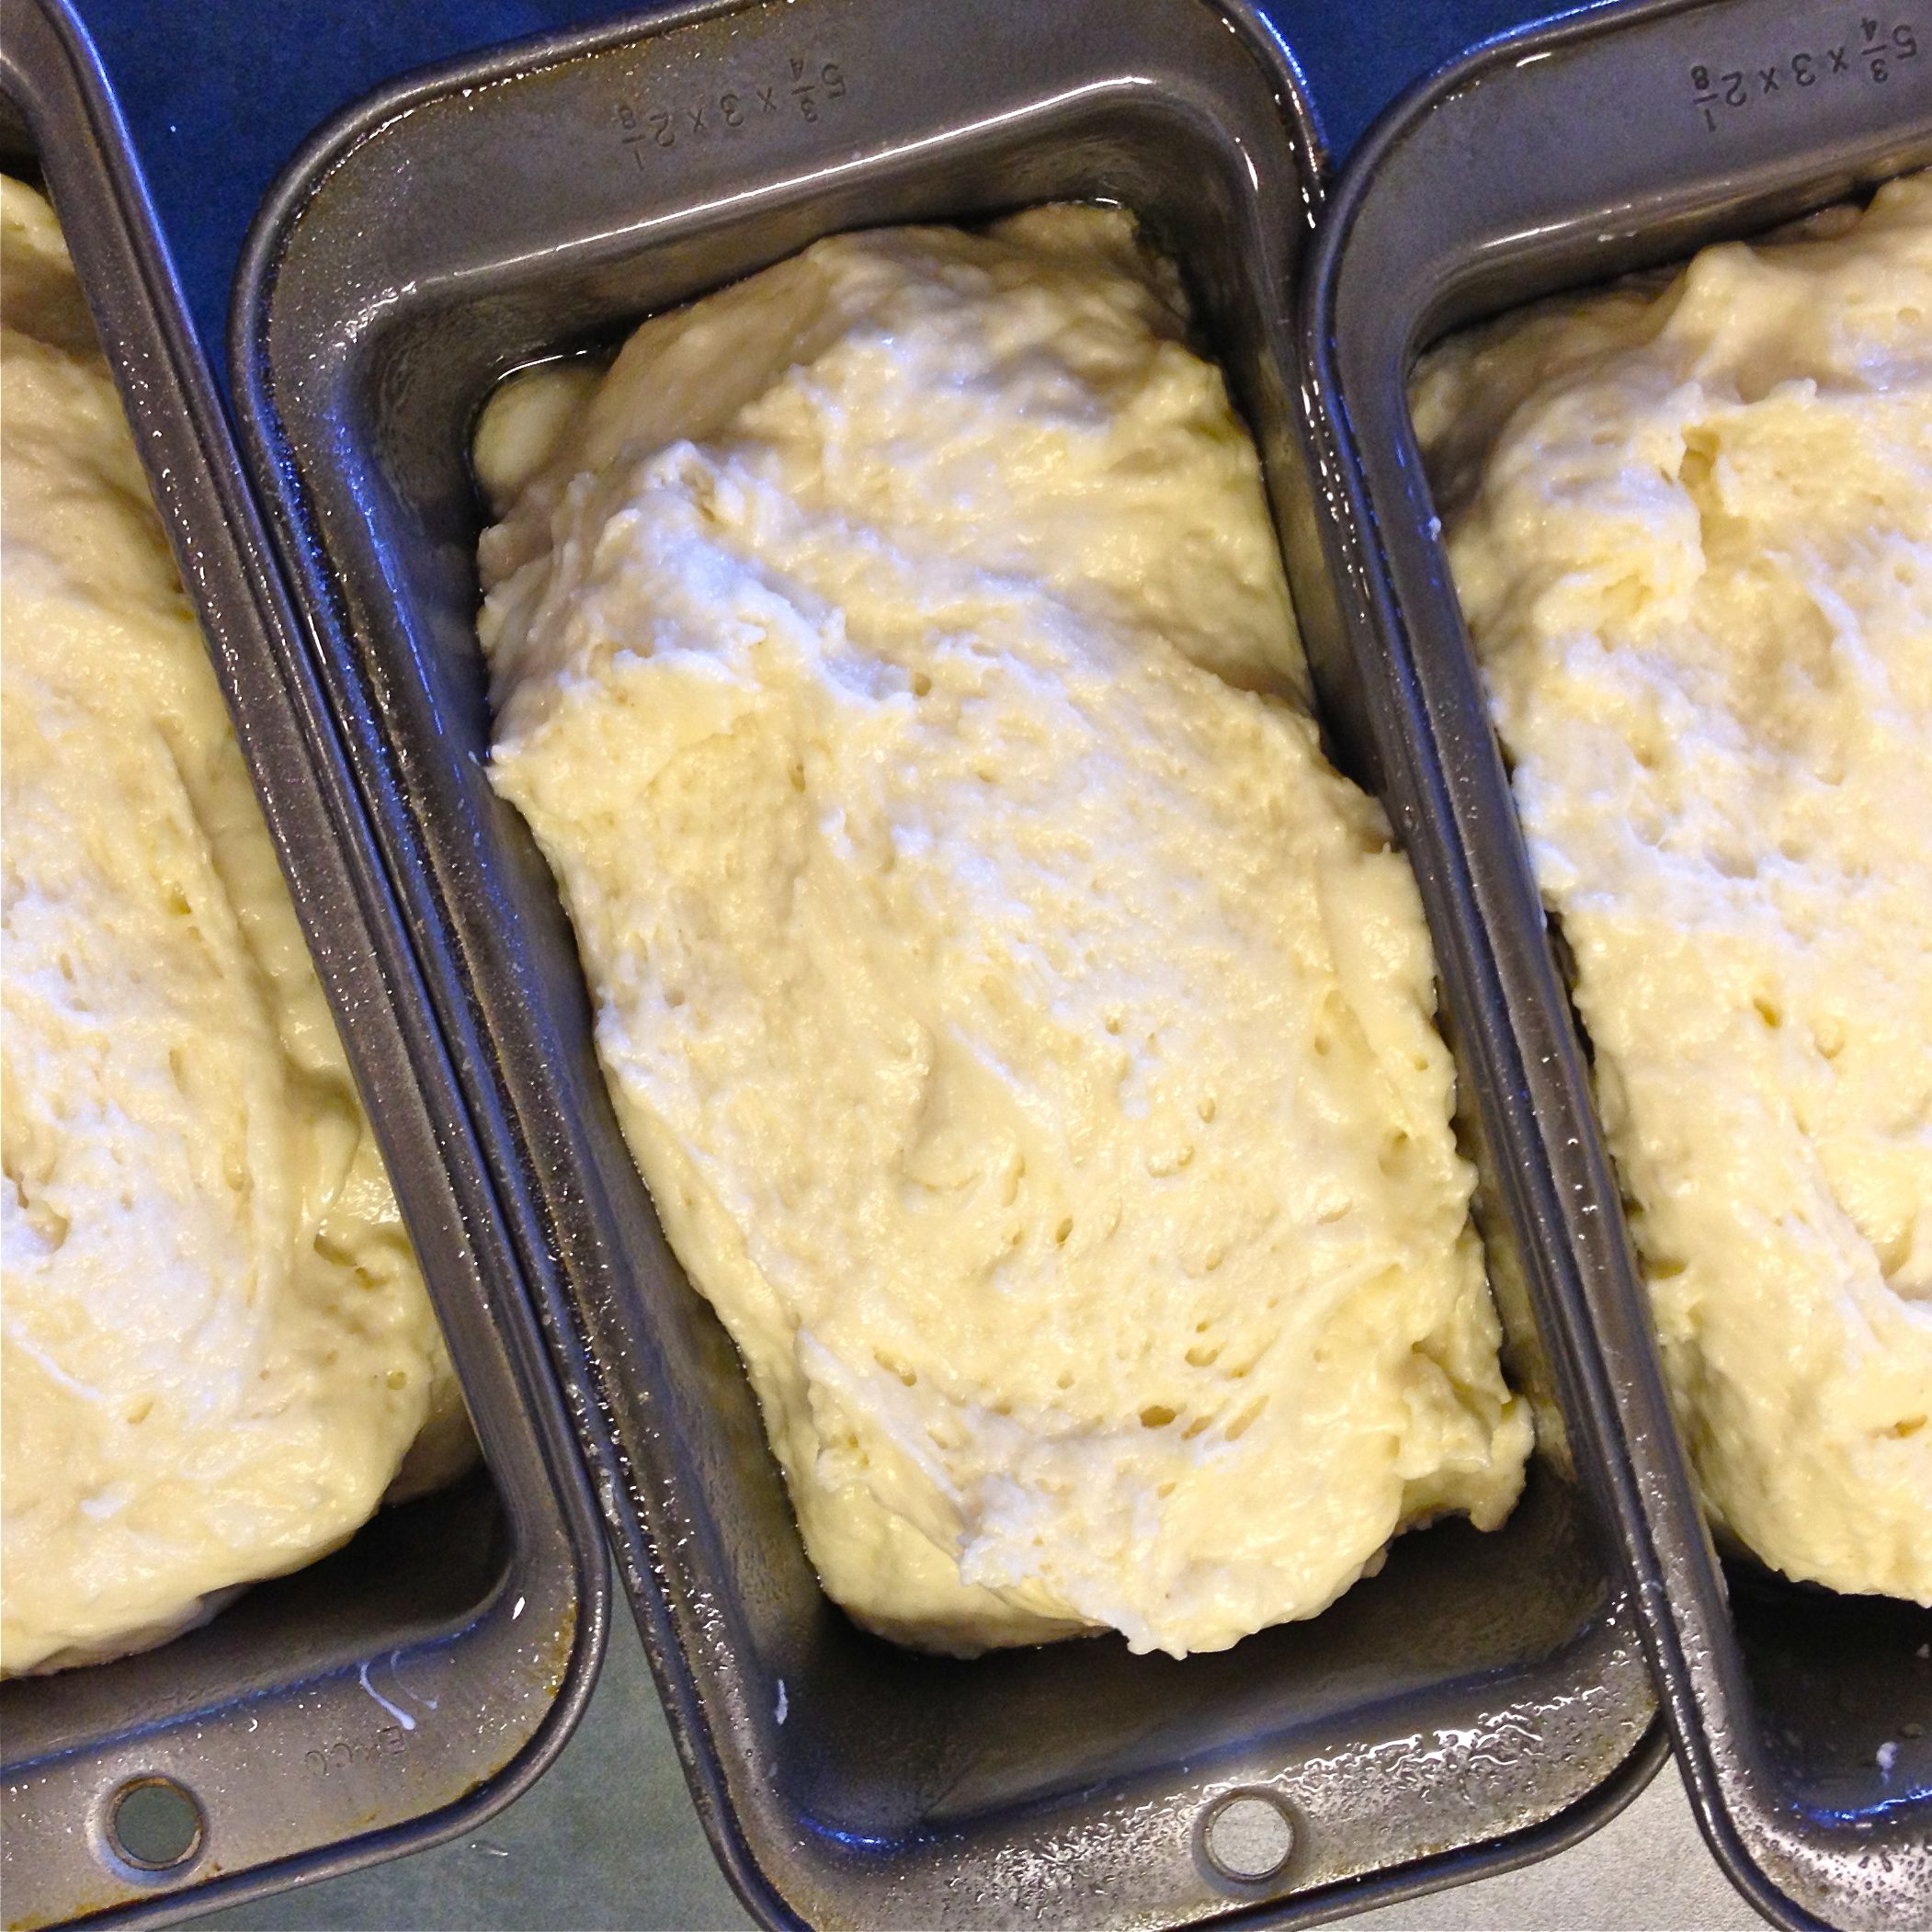
Bake in the center of the oven for 40 minutes.
Test with a wooden skewer to check for doneness.
Remove to a rack to cool. As soon as the loaves are removed from the oven, brush the loaves with the tablespoon of melted butter. Let rest in the pans for 15 minutes.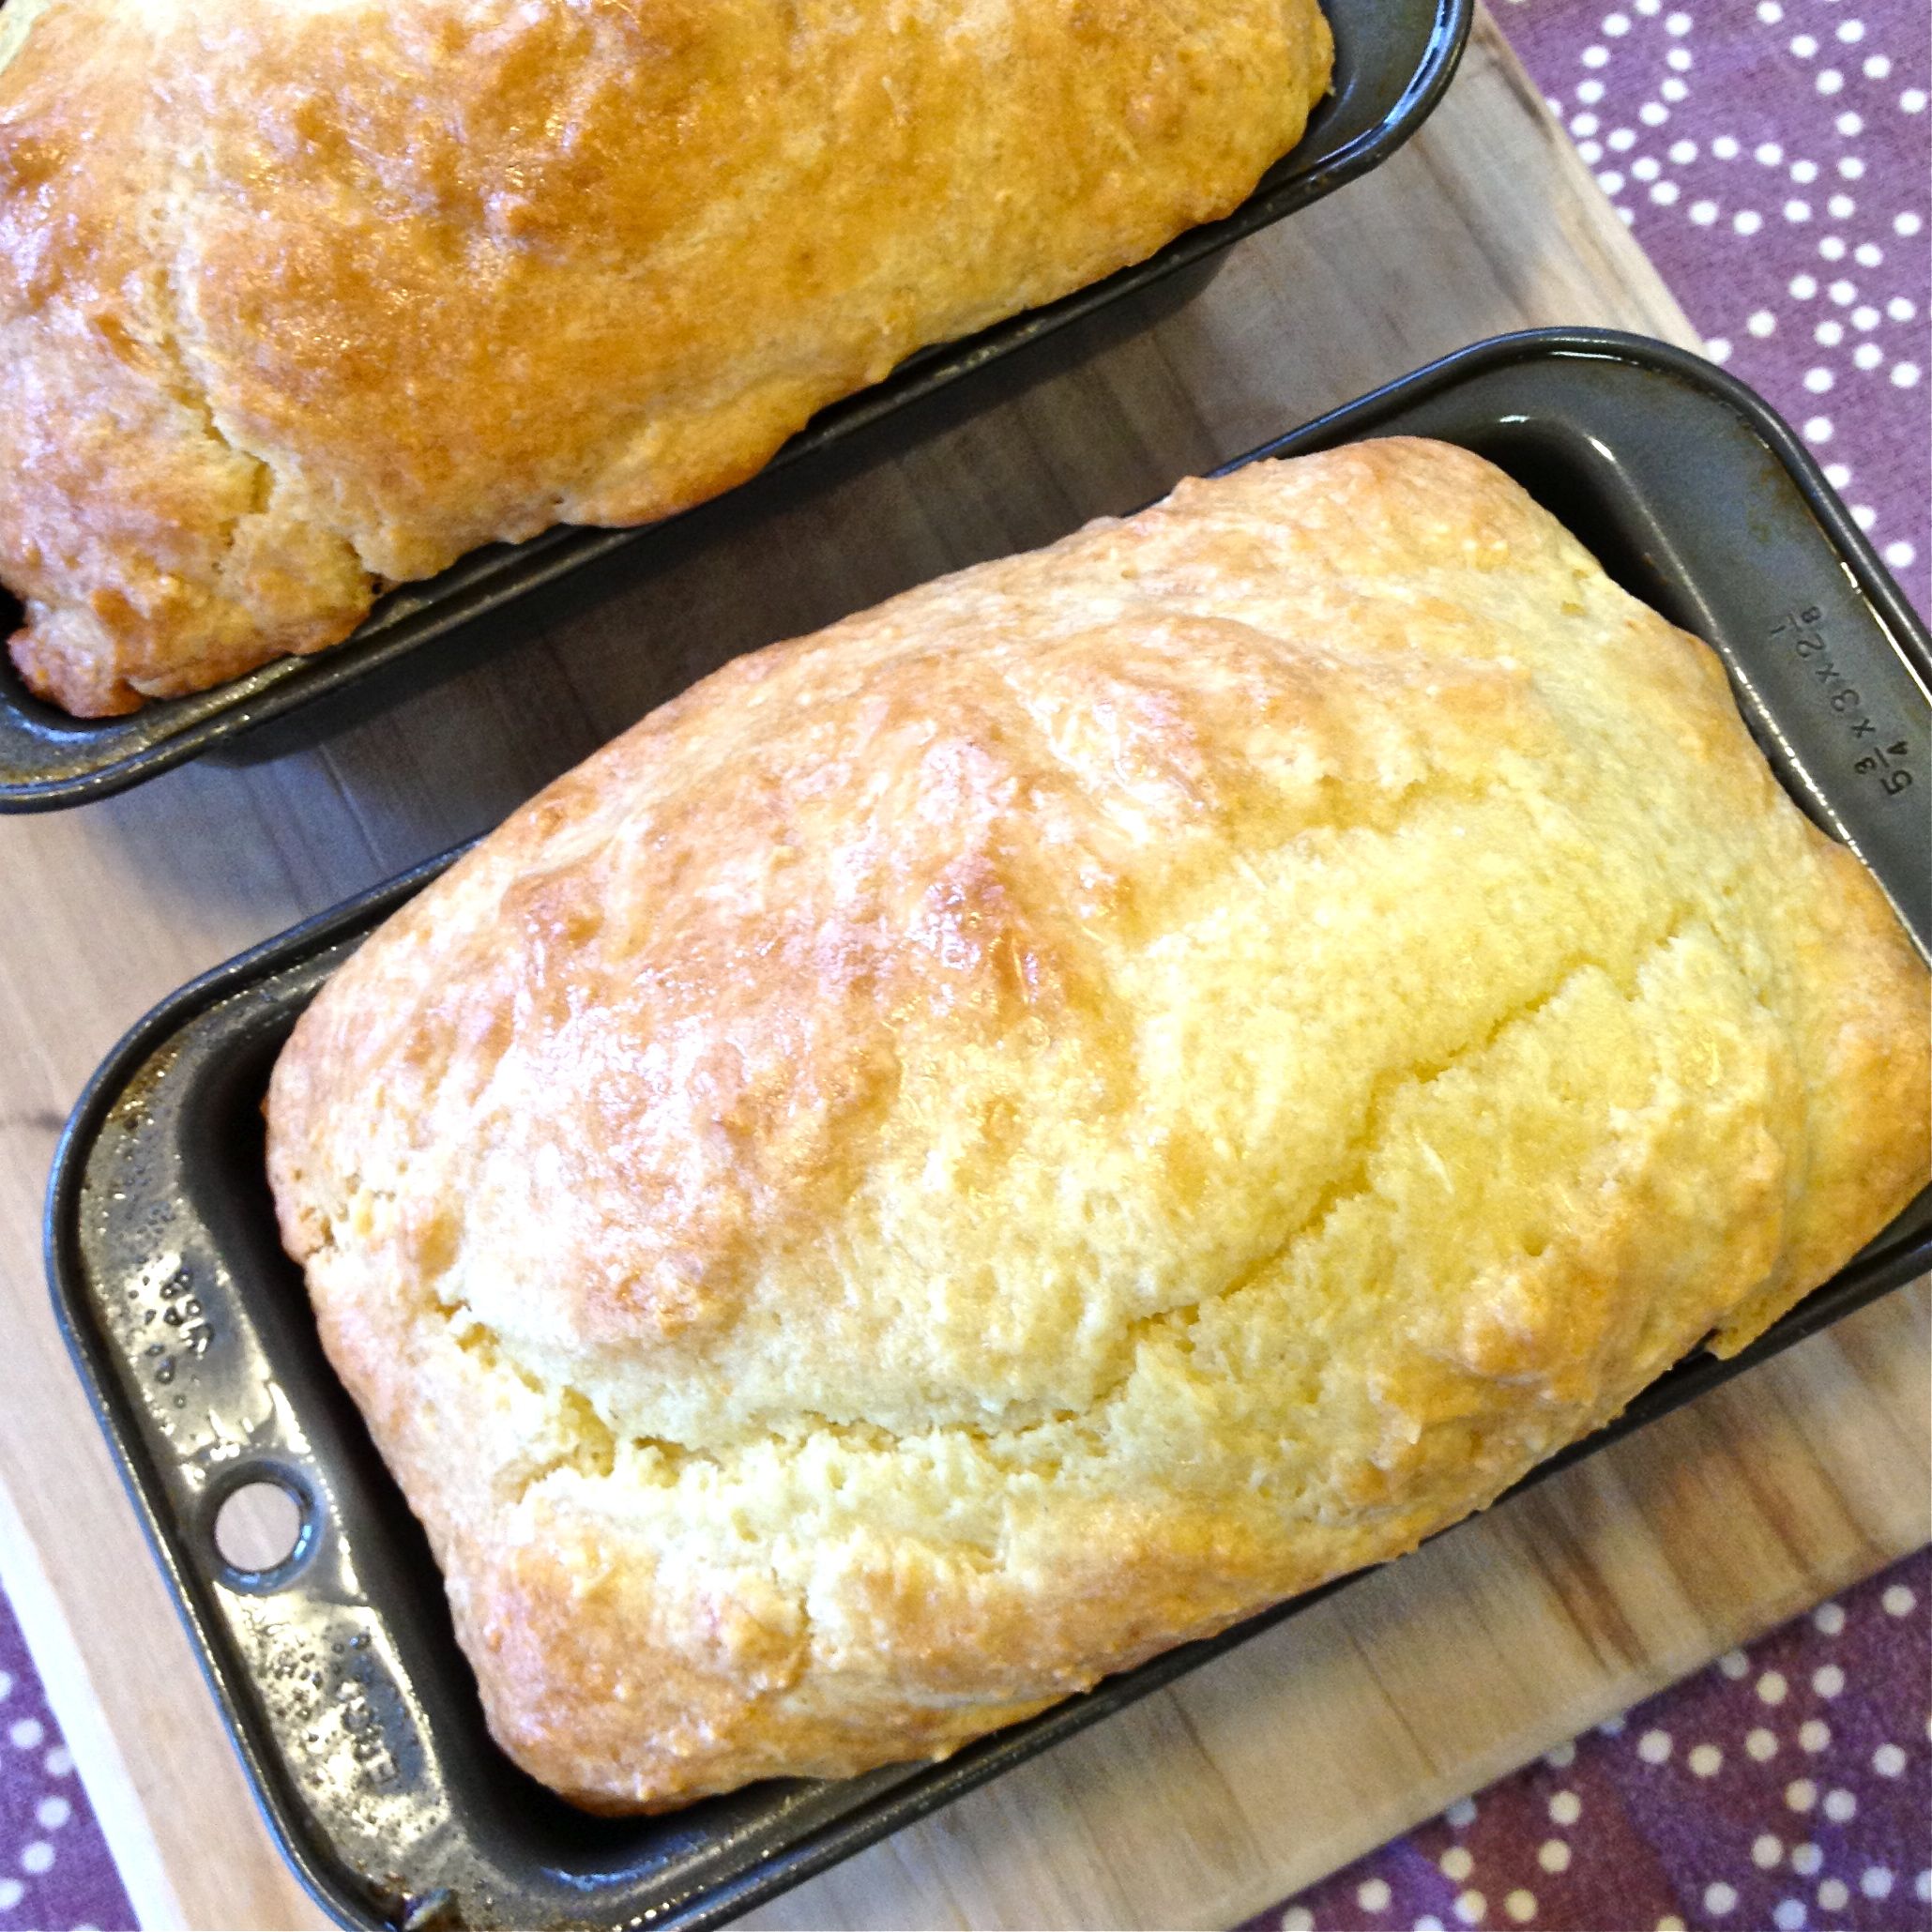
Remove from the pans, and let finish cooling on the rack, or serve when still slightly warm.
Slice using a serrated knife. 
To store – wrap cooled loaves in tin foil, sealing well. They can be stored for a couple of days wrapped this way.
I used 3 small loaf pans, but I don’t see why this couldn’t be cooked in a 9”x 5” loaf pan. I would cook it for an additional 20 minutes or so. Just check the loaf with a wooden skewer, if it comes clean it’s ready – if not, give the loaf another 5 minutes.
