 Everyone has a go-to dish for different events. Our daughter has been making these lemon bars for as long as I can remember. She’s shown how to make them to non-cooks, and delivers them happily to new moms, birthday folks, and as hostess gifts. She’s figured out that they taste OK when done gluten free, to please her aunt.
This recipe is written in pencil on a small yellow index card from my first go at organizing my recipes (and those that were given to me by friends). I share it with you as a fail-proof, yet always yummy treat, regardless of the time of year. Although best when made with freshly squeezed lemon juice, they have been made many times with lemon juice from a bottle (no point in pretending we’re perfect, that jig was up long ago!)
Click here for printable version.
Makes One 9” x 13” Pan
Ingredients:
Crust:
1 c butter, cut up into 1” cubes
½ c icing sugar
2 c flour
Filling:
4 eggs (free range give the best colour)
1½ c sugar
¼ c flour
1 t baking powder
½ c freshly squeezed lemon juice (or from a bottle in a pinch)
pinch of salt
Directions:
Preheat the oven to 350°
Pulse the crust ingredients in a processor until no piece of butter is larger than a pea. Or do it in the pan, as Sheila does, and break the butter into the flour with your fingers (no need to grease the pan either way).
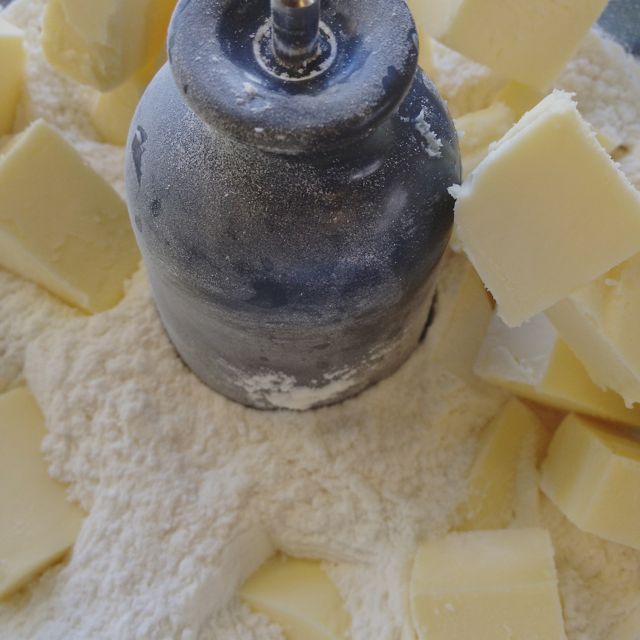
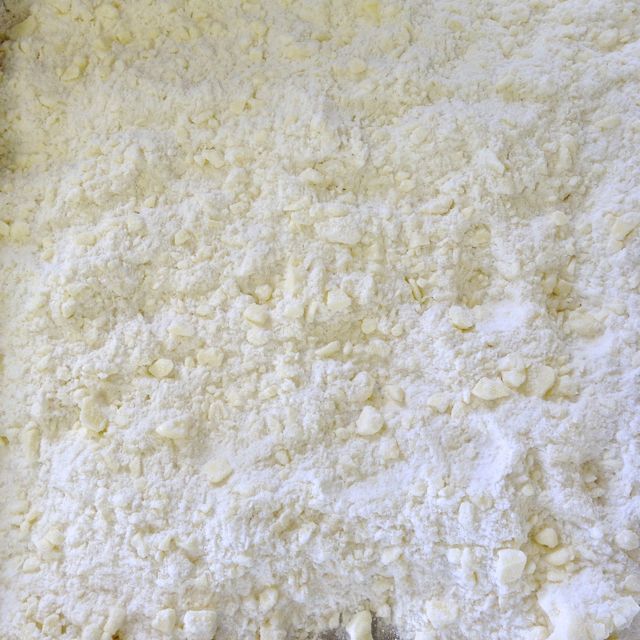
Spread the processed (or finger blended) crust ingredients into the pan, pressing down with your hands.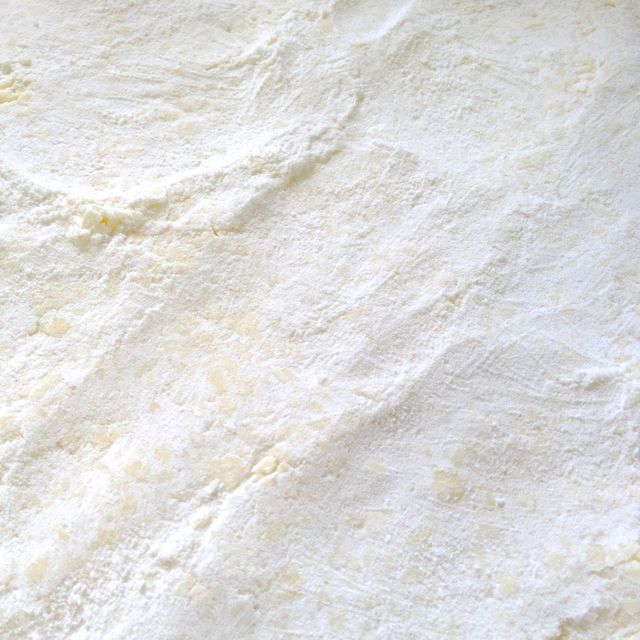
Bake for 10 minutes.
While the crust bakes, mix up the filling.
Using the same processor bowl (no need to clean it between doing the crust and the filling), beat the eggs, and then add in the sugar, flour, baking powder, lemon juice, and salt.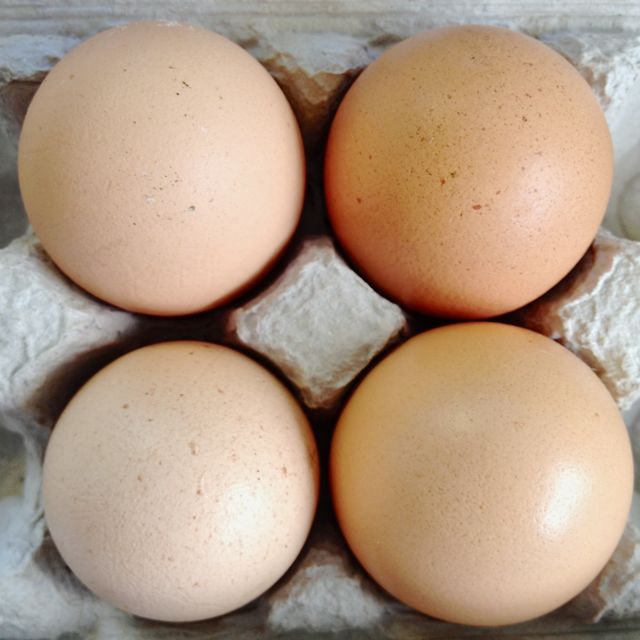
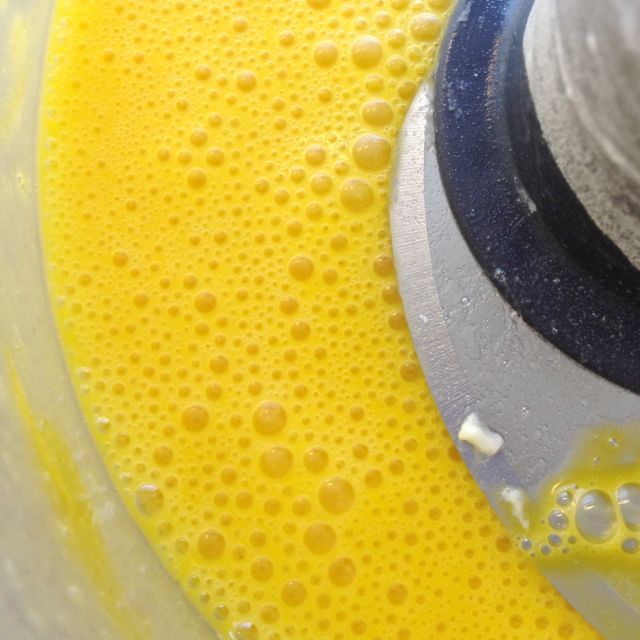


Process until completely combined (or just whisk them all together in a bowl).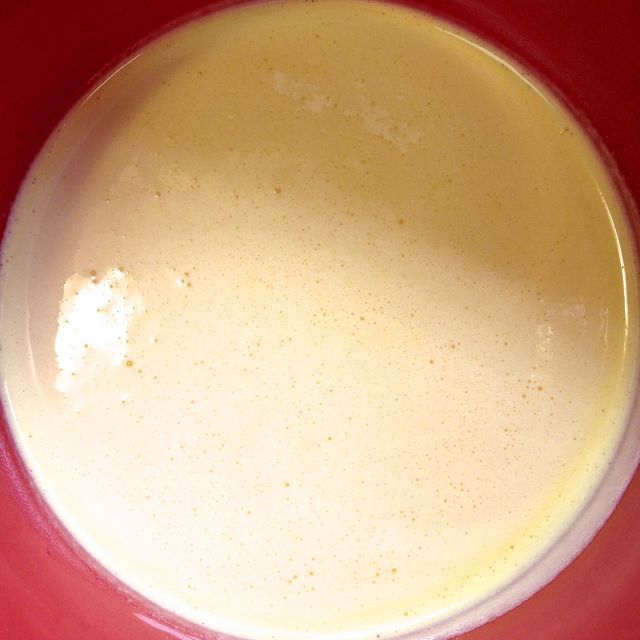
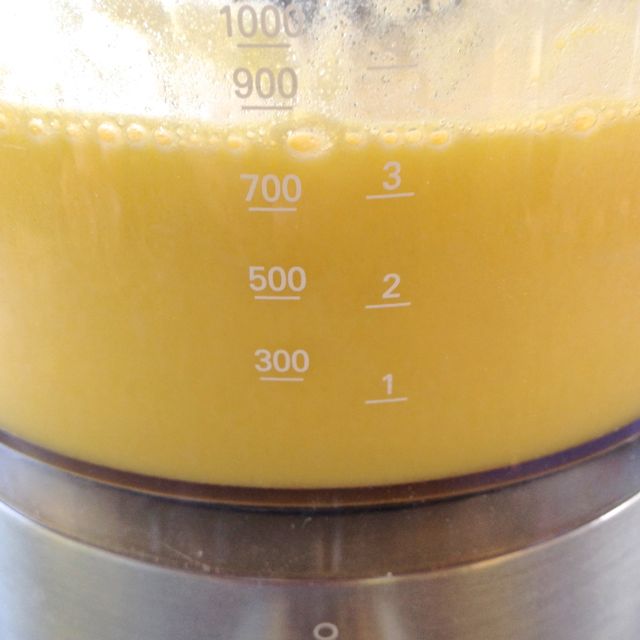
Pour into a spouted bowl or measuring cup.
Remove the crust from the oven when ready, it should be just tinged with colour.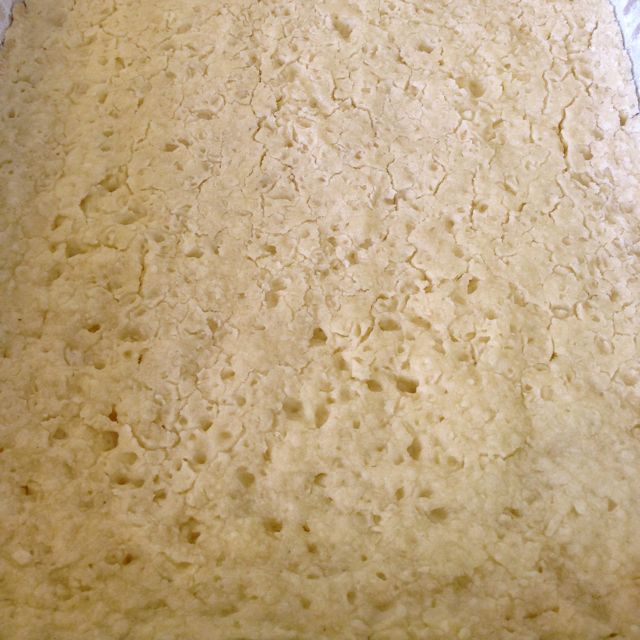
Gently pour the filling over the crust.
Return to the oven and continue to bake for another 25 minutes longer.
Let cool on a rack, then chill.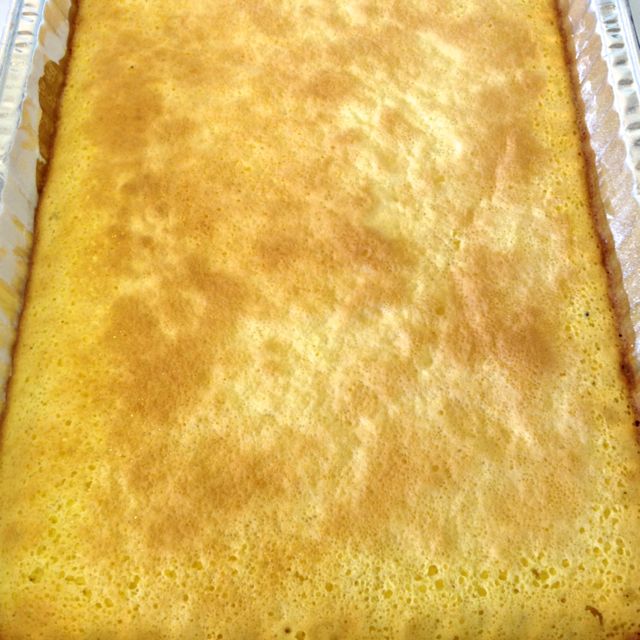
Cut into squares. Store in a covered container in the fridge for up to 5 days.
Plate the squares, and then dust with icing sugar using a sieve. Hold the sieve about 10 – 12 inches above the bars so you get a dusting of sugar instead of clumps.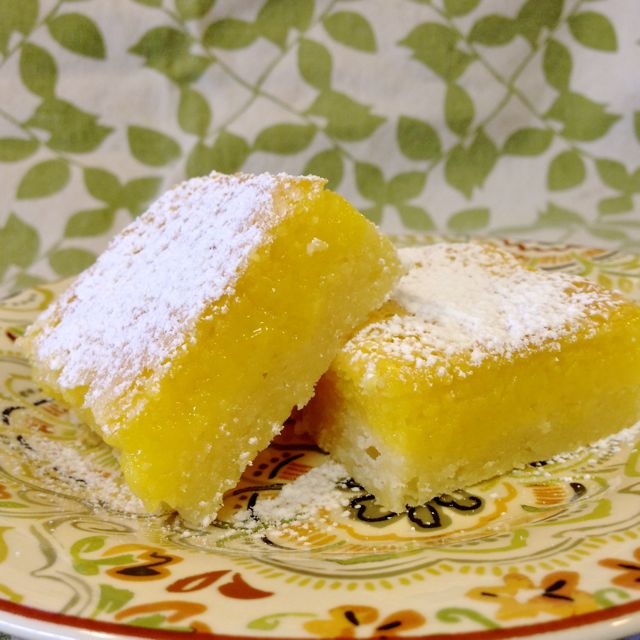
For Gluten Free, just replace the flour in the filling with cornstarch, and the flour in the crust with Cup 4 Cup flour.

I love the photos that accompany the directions. These squares remind me of wonderful desserts brought to events on my own island.
Thanks! Island life is pretty special.
Reblogged this on Serendipity Indulgence and commented:
Looks yummy. 🙂 Will make.