 Every year at this time, our community celebrates a woman who has quietly volunteered to make our community a better place. Whether it’s through education, seniors outreach, communication, the environment, or many other facets, it all gets done by volunteers.
The program started a decade or so ago, and now the past recipients make a surprise visit to the woman’s home, ready to celebrate her with a cake, and a bottle of bubbly. Or two.
Usually I make the cake, mostly because I love doing it. I’m sure someone else will happily step up if the need arises. Cakes used to be served to celebrate any occasion, but as we’re more aware of the value of calories we consume we’re more selective on when to serve one. Consequently, they’re even more of a treat.
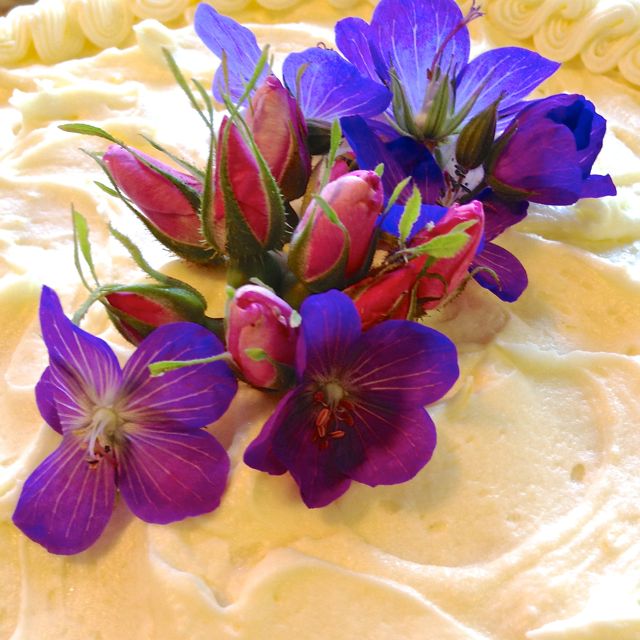
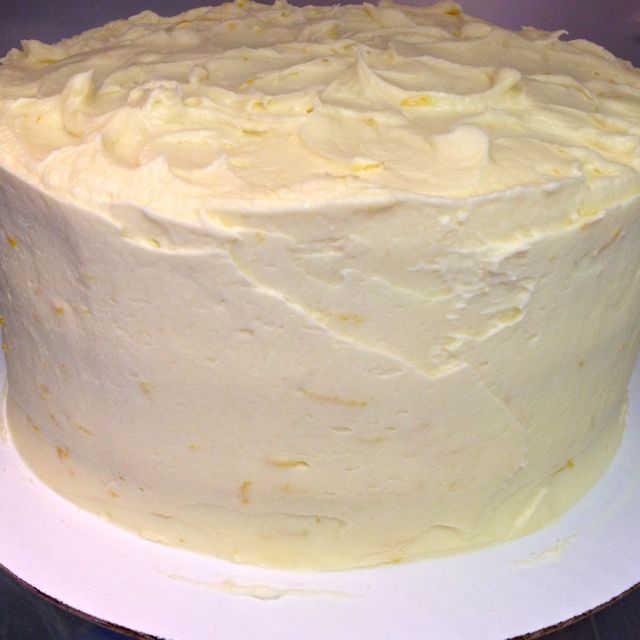
For this year’s event, I decided to do a 3-layer white buttermilk cake, filled with seedless raspberry preserves, and frosted with a fluffy and very lemony buttercream.
We enjoyed the cake, while sipping on bubbly, and chatting with each other through the evening. Ten women from very diverse backgrounds makes for very good conversation.
Click here for printable version.
Enough to fill and frost an 8” or 9” layer cake
Ingredients:
1 c unsalted butter (at room temperature)
zest of 1 lemon (the zest can be left in long strands or cross-cut into short pieces)
1 t vanilla
¼ t salt
¼ c milk or cream (room temperature – measure and have ready 15 minutes ahead)
A touch of yellow food colouring – paste or liquid, but very little
5 c icing sugar
3 T fresh lemon juice
Directions:
Cream the butter until light.
Add in the lemon zest, vanilla & salt.
Cream together thoroughly.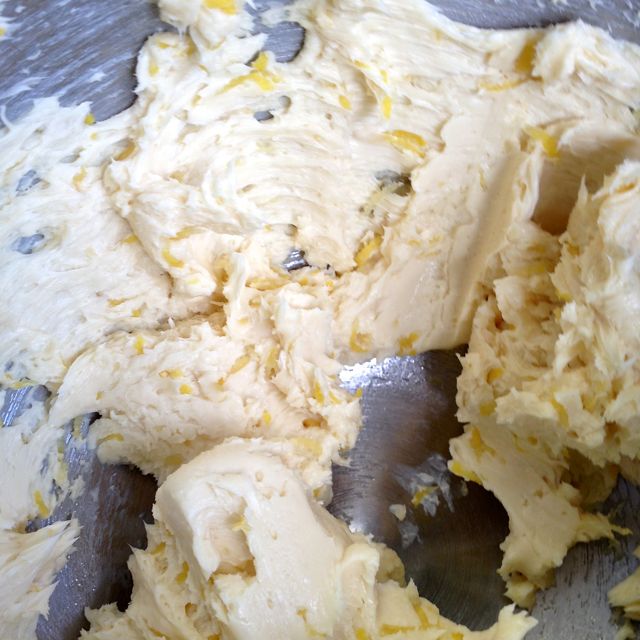
Add in the milk and the food colouring.
Beat until almost all of the liquid has been incorporated into the butter mixture.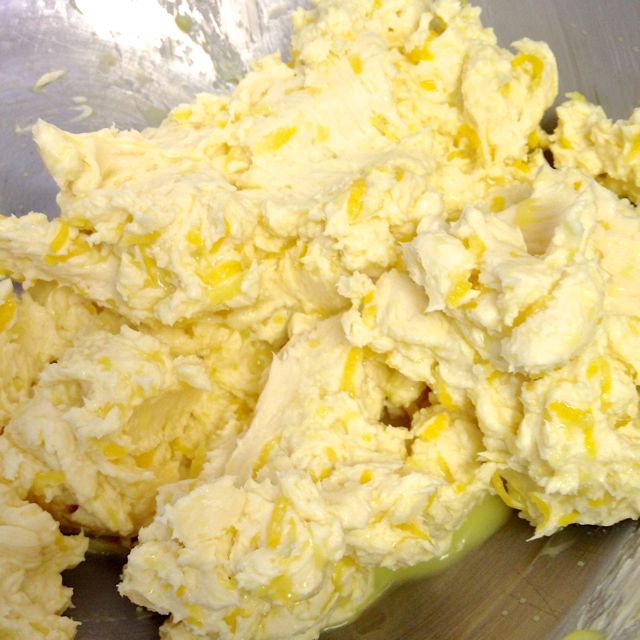
Add in the icing sugar, about ½ cup at a time.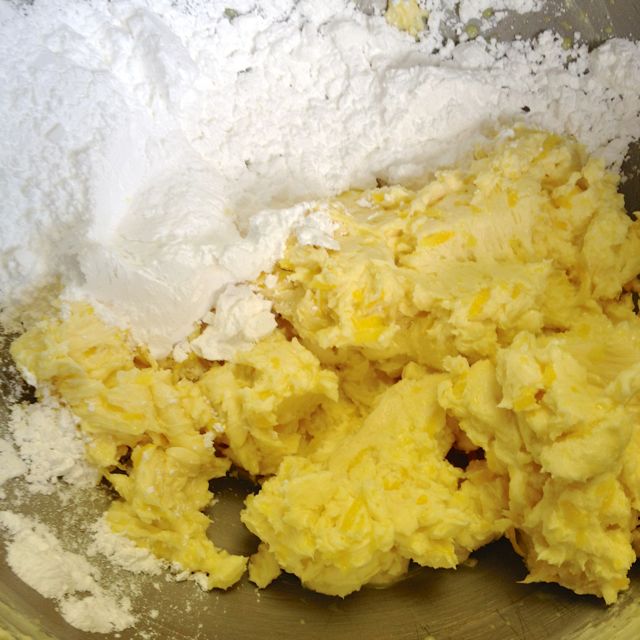
Beat until incorporated, after each addition.
When all the sugar has been incorporated, beat the icing for 2 full minutes.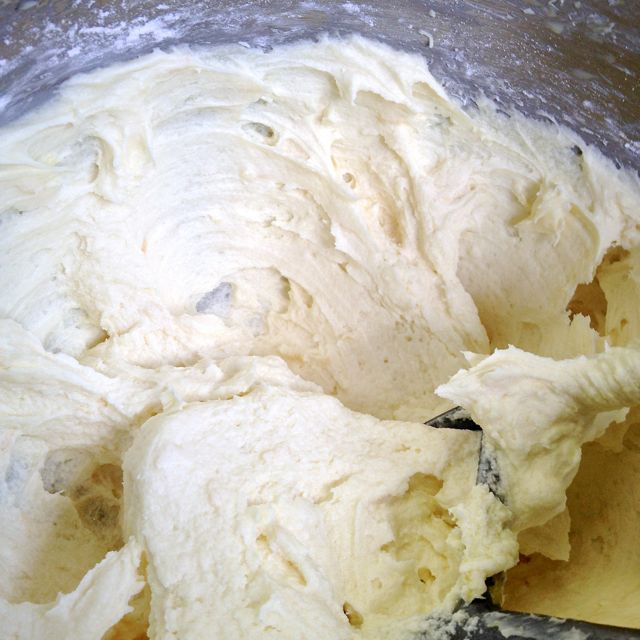
Add in the lemon juice at the end of the two minutes.
Continue beating until incorporated, and then for another 2-3 minutes until you have a very soft and spreadable icing.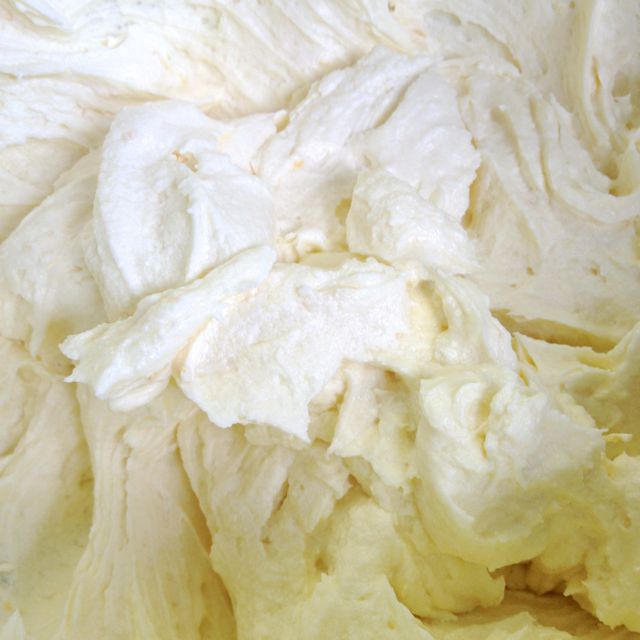
Spread some of the icing (if using) on the top of the bottom cake layer to create the filling, using an offset spatula to level it right to the edges.
Top with the other layer (s).
To frost the outside of the cake, immobilize your layers by putting in 3 skewers perpendicular to the plate.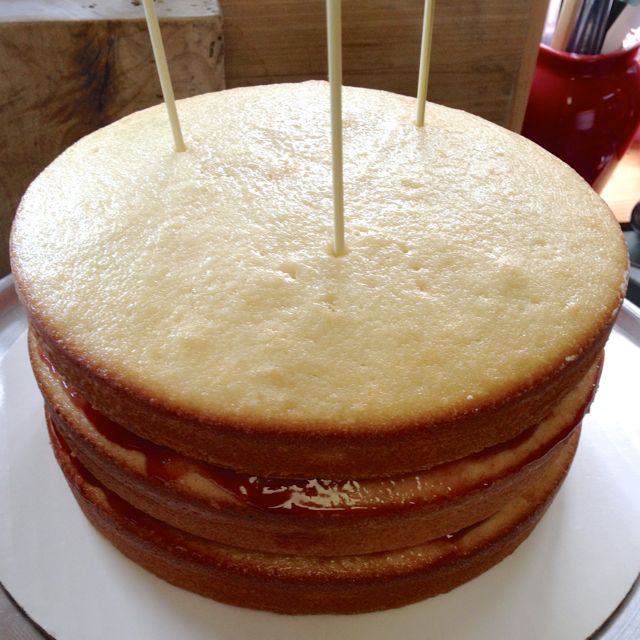
Lightly frost the sides of the layers.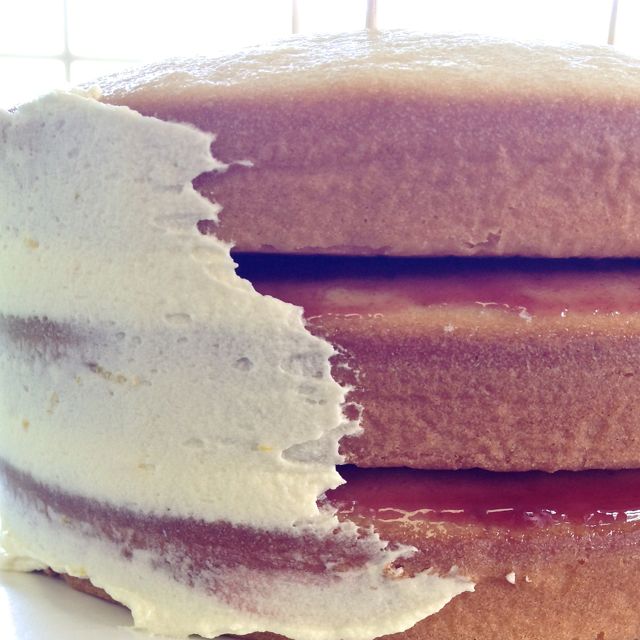
Set the cake in the fridge for 15 minutes or so, until it has firmed up. Keep the remaining icing somewhere cool (but not refrigerated), while you wait for the first coating to set.
Continue frosting the cake by doing the sides first, and then remove the skewers.
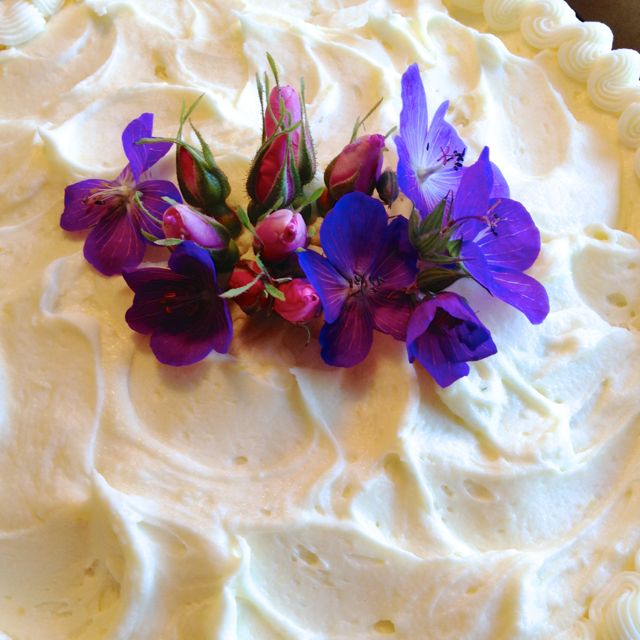
Frost the top. You can either smooth the icing, or swirl it. I prefer a swirled top with smooth sides.
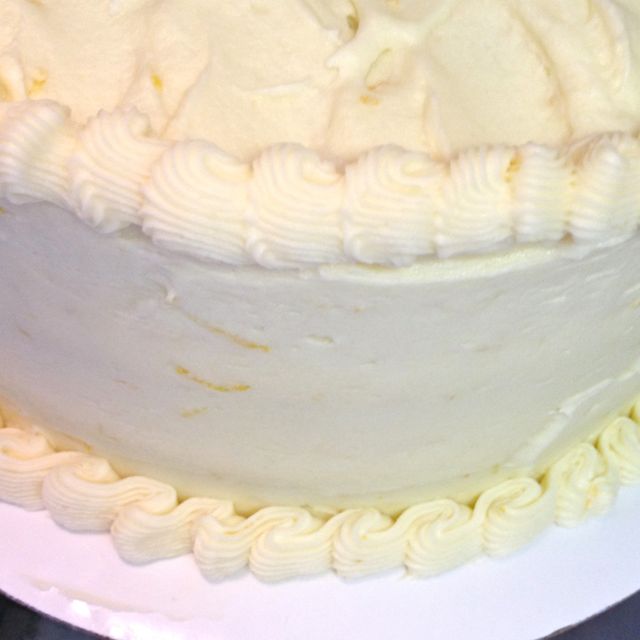
When the whole cake is frosted, add a bit more icing sugar to the remaining icing to make it firmer, and better for piping.
Use this to pipe the top and bottom edges of the cake, if desired.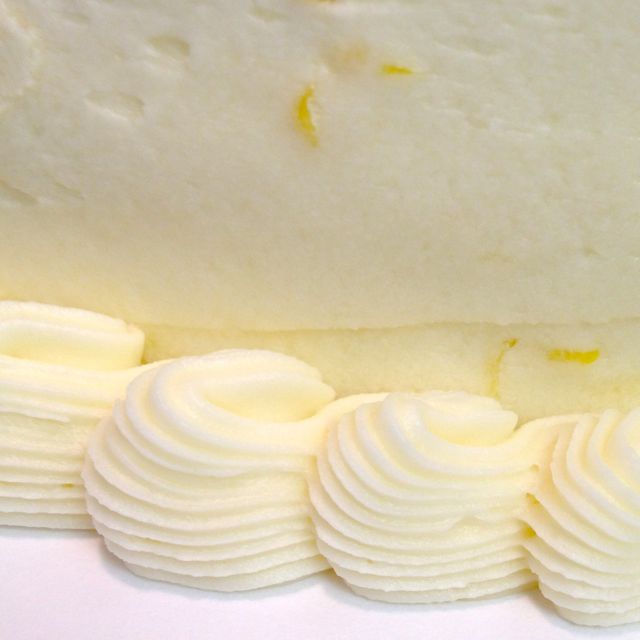
Put a few fresh flowers on top, and you’re done!
Of course you can colour any remaining icing at this point to decorate with a message or design.